Introduction :
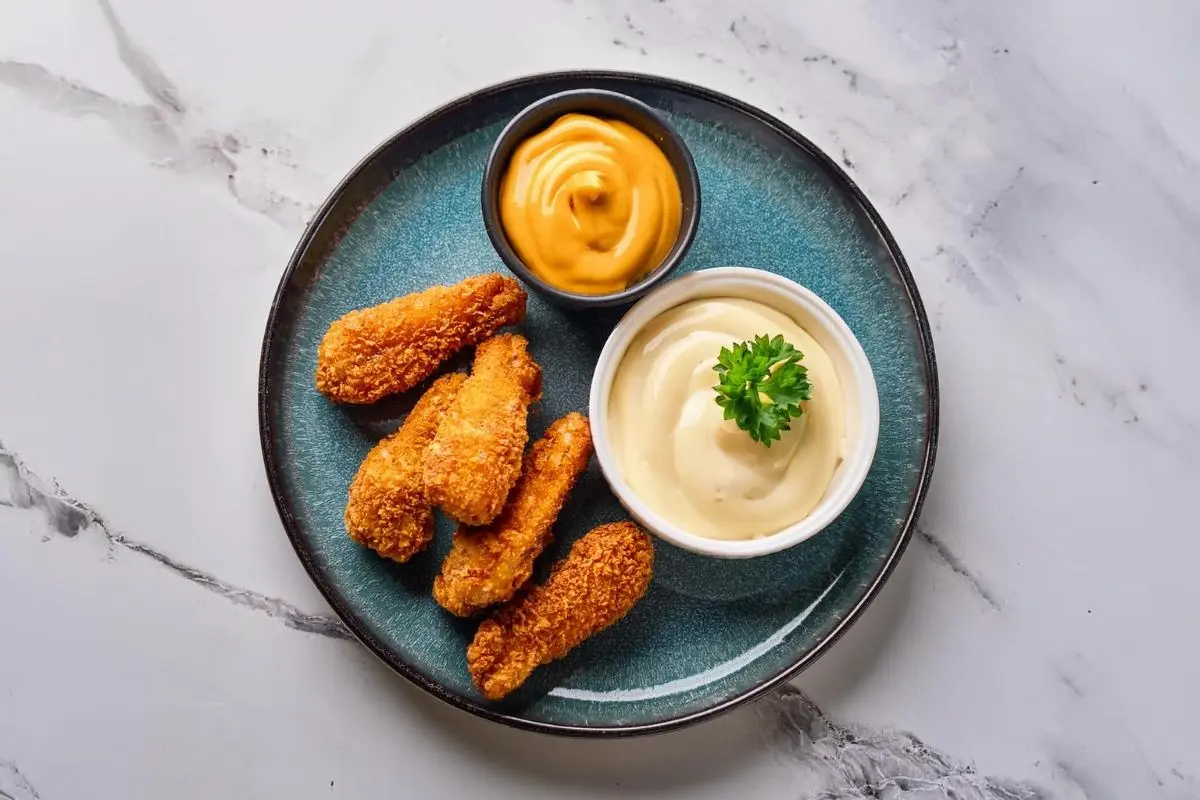
Chicken fingers are a favorite meal for many, but how would you describe chicken fingers in the best way? Their crispy texture, tender inside, and flavorful coating make them a go-to dish for both kids and adults. Whether served at a fast-food restaurant, made at home, or enjoyed at a party, they always bring satisfaction with every bite.
When thinking about how you would describe chicken fingers, it is important to consider their versatility. They can be baked for a healthier option or fried for extra crunch. They also pair well with a variety of dipping sauces, making them an exciting dish that can be customized to different tastes. Whether dipped in honey mustard, barbecue sauce, or spicy mayo, they always deliver great flavor.
This guide will explore everything about chicken fingers, including their history, preparation methods, detailed recipes, and nutritional information. You will also find serving ideas and answers to frequently asked questions to better understand what makes them such a popular dish.
What Are Chicken Fingers and Why Are They So Popular?
Understanding the Basics
When asked how would you describe chicken fingers, the most common answer highlights their crispy coating and tender, juicy interior. These delicious pieces of chicken are often known as chicken strips or chicken tenders. They are boneless cuts of chicken, usually made from chicken breast, that are breaded and cooked until golden brown. Some variations use thigh meat, offering a slightly richer flavor and extra juiciness.
The name comes from their long, thin shape, which resembles a finger. People love chicken fingers for their crispy texture, which contrasts perfectly with the soft meat inside. Whether baked, fried, or air-fried, they deliver a satisfying crunch that makes them one of the most popular chicken dishes around.
A Brief History of Chicken Fingers
When thinking about how would you describe chicken fingers in terms of history, many people believe they originated in the United States. While no single restaurant can claim to have invented them, they gained popularity in the mid-20th century. Some sources suggest they were inspired by Southern-style fried chicken, while others argue they were created as a convenient, bite-sized alternative to traditional fried chicken.
As their popularity grew, fast-food chains and diners added them to their menus, making them a staple dish across the country. Over time, different cooking techniques and seasoning blends helped evolve chicken fingers into the versatile meal they are today.
Why People Love Chicken Fingers
One of the main reasons people enjoy chicken fingers is their texture. The contrast between the crunchy, well-seasoned coating and the juicy, tender chicken inside creates the perfect bite. When describing chicken fingers, words like crispy, golden, and flavorful often come to mind.
Another reason they are so well-loved is their versatility. They can be eaten on their own as a main dish, served in wraps or sandwiches, or added to salads. Their ability to pair with a variety of dipping sauces, from honey mustard to spicy sriracha mayo, makes them even more exciting.
Since they can be prepared in different ways, there is a version of chicken fingers for every preference. Some people prefer the classic deep-fried method, while others choose to bake or air-fry them for a lighter alternative. No matter how they are made, they remain a favorite meal or snack option.
When asked how would you describe chicken fingers, the answer often includes words like crunchy, delicious, and satisfying. Their ability to be customized with different coatings, spices, and sauces ensures that everyone can enjoy them in their own way.
In the next section, we will go over the different methods used to prepare chicken fingers, from frying to baking, and how each method affects their taste and texture.
How to Make the Best Chicken Fingers at Home
Making chicken fingers at home is simple and allows for more control over ingredients and flavors. Whether you prefer them crispy, spicy, or extra crunchy, the right preparation method can make a big difference. By choosing quality ingredients and following proper cooking steps, you can enjoy homemade chicken fingers that are just as delicious as those from a restaurant.
Choosing the Right Ingredients
Using fresh ingredients is the key to making great chicken fingers. The following ingredients help create a flavorful and crispy coating:
- One and a half pounds of boneless chicken breast or tenders
- One cup of panko breadcrumbs for extra crunch
- Half a cup of all-purpose flour to help the breading stick
- Two large eggs to bind the coating
- Two tablespoons of milk for added moisture
- One teaspoon of garlic powder for flavor
- One teaspoon of paprika for color and seasoning
- Half a teaspoon of salt to enhance taste
- Half a teaspoon of black pepper for mild spice
- One teaspoon of dried parsley for extra flavor
- Two tablespoons of olive oil or melted butter to help crisp the coating
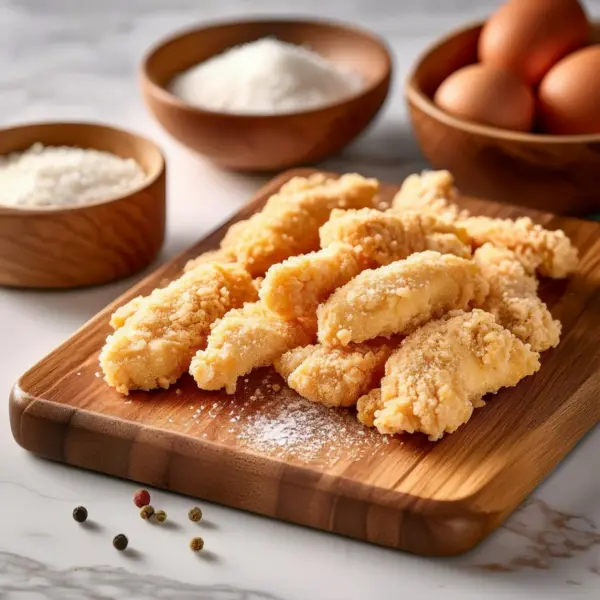
Preparing the Chicken
Start by cutting the chicken into even strips. This ensures that all pieces cook evenly and maintain their tenderness. Pat the chicken dry with paper towels before seasoning. Removing excess moisture allows the breading to stick properly, preventing it from falling off during cooking.
Sprinkle the chicken with salt, pepper, and garlic powder before breading. This step ensures that the seasoning is absorbed into the meat rather than just staying on the coating.
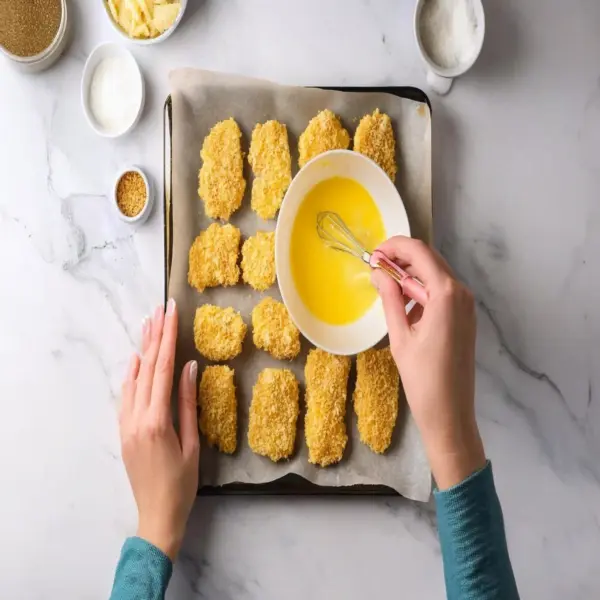
Creating the Perfect Coating
Set up a breading station with three bowls. The first bowl should contain the flour mixed with paprika and dried parsley. The second bowl should have the beaten eggs and milk. The third bowl should be filled with panko breadcrumbs for a light and crispy texture.
Dip each piece of chicken into the flour mixture first, coating it completely. Then, dip it into the egg wash, making sure the excess liquid drips off. Finally, press the chicken into the breadcrumbs, covering it evenly. For an extra crispy layer, repeat the egg and breadcrumb steps.
Best Cooking Methods for Chicken Fingers
The method used to cook chicken fingers greatly affects their texture and flavor. Baking is a healthier option, while frying provides a classic crunch.
Air Frying: Preheat to three hundred seventy-five degrees Fahrenheit. Place the chicken in a single layer, spray with oil, and cook for ten minutes, flipping halfway through.
Baking: Preheat the oven to four hundred degrees Fahrenheit. Arrange the breaded chicken on a parchment-lined baking sheet. Lightly spray with cooking oil for crispiness. Bake for ten minutes, flip, and bake for another ten to twelve minutes until golden brown.
Frying: Heat oil in a pan to three hundred seventy-five degrees Fahrenheit. Fry the chicken fingers for four to five minutes per side until crispy and golden brown. Drain on a paper towel to remove excess oil.
Cooking Methods for Crispy and Juicy Chicken Fingers
Frying for Extra Crunch
Frying is the traditional method for making chicken fingers extra crispy. Heat oil in a deep pan to three hundred seventy-five degrees Fahrenheit. Carefully lower the breaded chicken into the oil and fry for about four to five minutes per side. Once golden brown, transfer them to a plate lined with paper towels to drain excess oil.
This method creates the crispiest texture, but it also adds more calories due to the oil absorption.
Baking for a Healthier Option
Baking is a great alternative for those who want a lighter version without sacrificing crispiness. Preheat the oven to four hundred degrees Fahrenheit and place the breaded chicken fingers on a baking sheet lined with parchment paper. Lightly spray them with cooking oil to help achieve a golden-brown crust.
Bake for ten minutes, then flip the chicken and bake for another ten to twelve minutes. The result is a crunchy, flavorful coating without deep frying.
Air Frying for Convenience
An air fryer is another great way to cook chicken fingers quickly. Preheat the air fryer to three hundred seventy-five degrees Fahrenheit and arrange the chicken in a single layer. Spray lightly with oil and cook for ten minutes, flipping halfway through.
This method delivers similar crispiness to frying but uses much less oil.
In the next section, we will explore the nutritional benefits of chicken fingers and how to make them even healthier.
Nutritional Information and Health Benefits of Chicken Fingers
Many people love crispy chicken fingers, but understanding their nutritional value is important for those who want to make healthier choices. Whether they are baked, fried, or air-fried, chicken fingers can be modified to suit different dietary needs. By making small changes, it is possible to enjoy this delicious dish while maintaining a balanced diet.
Nutritional Breakdown per 100g
A 100-gram serving of chicken fingers provides a mix of protein, carbohydrates, and fats. The specific nutritional values vary based on the ingredients and cooking method. Below is a general breakdown:
| Nutrient | Amount |
|---|---|
| Calories | 250 kcal |
| Protein | 22 g |
| Carbohydrates | 14 g |
| Fat | 10 g |
| Fiber | 1 g |
| Sodium | 480 mg |
| Cholesterol | 75 mg |
The method of preparation plays a big role in the nutritional content. Fried chicken fingers absorb more oil, leading to higher fat content, while baked and air-fried versions contain less fat. Choosing the right cooking method helps reduce unnecessary calories and makes the meal a healthier option.
How to Make Chicken Fingers Healthier
There are several ways to make chicken fingers healthier without losing their crispy texture. One of the best methods is to bake them instead of frying. Baking reduces the amount of oil needed while still creating a crunchy coating. Air frying is another great option since it requires minimal oil but still delivers a crispy result.
Using whole wheat breadcrumbs instead of traditional ones is another simple way to increase fiber intake. Fiber is important for digestion and helps keep you full longer. Choosing lean chicken breast for chicken fingers also makes a difference, as it provides high protein content while keeping fat levels low.
Many store-bought seasonings contain high amounts of sodium, which can be avoided by using fresh herbs and spices. Garlic powder, paprika, black pepper, and dried herbs add flavor without increasing salt intake. Making chicken fingers at home also allows better control over ingredients, ensuring they remain a nutritious choice.
The Role of Chicken Fingers in a Balanced Diet
When thinking about how to describe chicken fingers from a nutritional perspective,. Instead of serving them with fries, try roasted vegetables or a fresh salad. Whole grains like quinoa or brown rice complement the meal while adding fiber and essential nutrients.
If someone asked you to describe chicken fingers, they help sustain energy levels throughout the day. This makes them a good choice for kids and adults alike, especially when prepared using healthier methods.
FAQs and Storage Tips
Many people enjoy crispy chicken fingers, but they often wonder how to keep them fresh and crunchy after cooking. Understanding the right storage and reheating methods ensures that chicken fingers remain just as tasty as when they were first made. Whether you are making them at home or saving leftovers, these tips will help maintain their texture and flavor.
How Would You Describe Chicken Fingers That Stay Crispy After Cooking?
One of the biggest challenges when making chicken fingers is keeping them crispy. To prevent sogginess, avoid stacking them immediately after they come out of the oven or fryer. Placing them on a wire rack instead of a plate allows air to circulate, reducing moisture buildup. If you need to keep them warm before serving, place them in an oven set to low heat rather than covering them with foil, which can trap steam.
Another trick to enhance crispiness is lightly spraying the breaded chicken fingers with oil before baking or air frying. Using panko breadcrumbs instead of regular breadcrumbs also helps achieve a crunchier texture. Since chicken fingers are all about the crisp, small adjustments like these can make a big difference.
Can You Make Chicken Fingers Gluten-Free?
Yes, making gluten-free chicken fingers is easy with a few simple swaps. Instead of regular flour, use almond flour, rice flour, or a gluten-free all-purpose blend. For breading, crushed gluten-free crackers or gluten-free panko are great alternatives. These options help maintain the crispy coating while keeping the dish safe for those with gluten sensitivities.
When choosing a gluten-free alternative, it is important to check for seasoning blends and sauces that may contain hidden gluten. Many store-bought products include wheat-based additives, so reading ingredient labels ensures that the meal remains completely gluten-free.
Best Way to Store And Describe Chicken Fingers Without Losing Texture
Proper storage is key to keeping chicken fingers fresh. After they cool completely, place them in an airtight container and store them in the refrigerator for up to three days. To prevent moisture from making the coating soft, put a paper towel at the bottom of the container. This absorbs any excess liquid and keeps the breading from becoming soggy.
To describe chicken fingers properly, it is essential to focus on their texture and flavor. They are known for their crispy, golden-brown coating, which contrasts with the tender and juicy inside. The breading provides a satisfying crunch, while the chicken remains moist and flavorful. Whether baked or fried, they deliver a perfect balance of crispiness and softness, making them a favorite for many.
How to Reheat And Describe Chicken Fingers Without Losing Crispiness
Reheating chicken fingers properly ensures that they stay crispy. The best methods are using an oven or an air fryer. Set the oven to three hundred seventy-five degrees Fahrenheit, place the chicken fingers on a baking sheet, and heat them for five to ten minutes. Flipping them halfway through helps maintain even crispiness.
If using an air fryer, set it to three hundred seventy-five degrees Fahrenheit and reheat the chicken fingers for about four to six minutes. This method works well because it quickly restores the crispy coating without drying out the inside.
When describing chicken fingers, emphasize their crunch, golden exterior, and tender interior. The combination of crispiness and juicy meat creates an irresistible bite, perfect for dipping in sauces and serving with side dishes.
For more information on proper food storage, check out these food safety guidelines.